Recently I decided to format my computer and reinstall XP.So everything was working fine until I tried to start Windows Update it gave me a " The website has encountered a problem and cannot display the page you are trying to view " error.
Turns out there's a really easy fix if you're on Windows XP sp2 just download:
http://download.windowsupdate.com/WindowsUpdate/redist/standalone/7.4.7600.226/WindowsUpdateAgent30-x86.exe
and install it.A reboot might be required.If you don't want to reboot you can try stopping the services you just updated yourself.
If you want to stop the services manually go to Run and type in net stop wuauserv then go to run again and type in net stop bits after you've done that go ahead and start up the services again net start wuauserv and net start bits.
Start your Windows Update again and it should be working fine.
http://www.passwordmeter.com/ is a great website to use if you need a good view on your passwords' strenght and where it needs to be improved.

I've been coming across this quite often lately and I figured out that for some reason when a video is embedded in another site there's never a problem with playback.So for example we'll use http://www.youtube.com/watch?v=Eh9XwSgCigc which is not loading for me.


Hope that helps!
You might be using blogger and wondering why your site doesn't get to the top results on google and other people's sites do.Well you're in luck in this tutorial I'll show you how to add a sitemap so google can crawl and index your pages faster and therefore rate your website higher.Let's get started.
First off you need a Google Webmaster Tools Account.You can get one by going to:
https://www.google.com/webmasters/
Once you're logged in select your blog and go to the Optimization tab then Sitemaps.If you're using Blogger there's a default sitemap at www.yoursite.blogspot.com/sitemap.xml otherwise you'd have to create your own.I might cover that in an upcoming tutorial but for now click ADD/TEST SITEMAP and put in sitemap.xml , test it just to make sure if it comes up with the number of posts you've made on your blog it's all working good.Go ahead an submit the sitemap.

I took a bit of a break these past few weeks but now I'm back to blogging.I decided to do this tutorial because I think it's useful and not many people know how to do it.So here's a way to get rid of the white background instead of using the magic wand tool.
Let's get started.So I googled a random pic of a cat and ended up with this guy.

Make sure your brush color is set to white or any other color the background may be.
Once that's done go up to Select then Color Range...

Click OK then the background around your object/s will be selected.Hit CTRL + X and you're done.If there's more white around the object do it over until you get the result you're looking for.

FileZilla is an Open Source FTP client for Windows , MAC OS X and GNU/Linux.You can download it at:
http://filezilla-project.org/

I'll be doing some tutorials on WordPress in the near future , as you can see I have it on my webserver.
To get a Random Post button on your blogger website first login to your blogger dashboard , then navigate to your blog , go to layout then add a gadget.Find HTML/JavaScript under Basic and click the plus sign next to it.Name it Random Post or whatever you want it doesn't matter because the name of the button is in the script itself this is just so you know what gadget it is.

<div id="myLuckyPost"></div> <script type="text/javascript"> function showLucky(root){ var feed = root.feed; var entries = feed.entry || []; var entry = feed.entry[0]; for (var j = 0; j < entry.link.length; ++j){if (entry.link[j].rel == 'alternate'){window.location = entry.link[j].href;}}} function fetchLuck(luck){ script = document.createElement('script'); script.src = '/feeds/posts/summary?start-index='+luck+'&max-results=1&alt=json-in-script&callback=showLucky'; script.type = 'text/javascript'; document.getElementsByTagName('head')[0].appendChild(script); } function feelingLucky(root){ var feed = root.feed; var total = parseInt(feed.openSearch$totalResults.$t,10); var luckyNumber = Math.floor(Math.random()*total);luckyNumber++; a = document.createElement('a'); a.href = '#random'; a.rel = luckyNumber; a.onclick = function(){fetchLuck(this.rel);}; a.innerHTML = 'View Random Post'; document.getElementById('myLuckyPost').appendChild(a); } </script> <script src="/feeds/posts/summary?max-results=0&alt=json-in-script&callback=feelingLucky"></script>
Paste this script in where it says content , save it and move it to wherever you want it to be on your blog.To change what the button says just replace View Random Post in the script I've made it bold so it's easier to find.
It's called TeamViewer and it's the best remote assistance software for non-commercial use.You can get it at http://www.teamviewer.com/
You can either install it or just run it for one session.It's small and compact and overall a great piece of software.It's also good for transferring multiple large files from one computer to another.

There's a Meeting option previously called Presentation where you can invite people to just look at what you're doing on your desktop without having any control unlike the remote assistance sessions.There's also live video , VOIP (Voice Over IP) , Conference Calls , Chat , File box and a Whiteboard function where you can point to stuff on your dektop via a paint brush , pencil , rectangle tool there's even speech balloons you can add for everyone to see and many more.And all that for free.

I know the site is a mess right now with random tutorials left and right but I'll get to categorizing it when it reaches 50 posts for now just use the Search bar to find the tutorials you're interested in.Stay tuned!

- Sign Up Required
- 50 GB Cloud Storage
- Up to 200MB per File
- Unlimited Fast Simultaneous Downloads
- Online Document Viewing & Editing
- File and Folder Sharing

2.http://www.4shared.com/
- Sign Up Required
- Storage Space 15GB
- Up to 2GB per File
- No Download Limit
- Password prottection
- Photo album
1.http://www.zippyshare.com/
- No Sign Up Required.
- Up to 200MB per File
- Unlimited Disk Space
- No Download Limit
- MP3 Preview Function
- Fast
First let's learn how to find alive proxy servers.Personally I like to use http://proxy-list.org/en/index.php because it's regularly updated.So pick a proxy and copy it.Now to go Tools then Options go to Advanced then Network then under Connection click Settings...
Go to Manual proxy configuration:

In this example we're using 1.1.1.1:1111 as our proxy.So you paste the part before the colon after HTTP Proxy: and the second part after Port: then click ok and we're done.
If the proxy server is dead the page won't load.If it's too slow just pick another one until you get one that works for you.Also most sites won't be fooled by Transparent proxies so you should get an Anonymous proxy or better usually the Elite proxies are pretty slow or down most of the time.
Alright now for how to make this a lot quicker and easier.Elite Proxy Switcher is a great addon for Firefox.You can download it at https://addons.mozilla.org/en-US/firefox/addon/elite-proxy-switcher/ it will basically shorten the process of switching proxies down to a few clicks.
A new bar should show up at the bottom of your browser just right click where it says direct connection and it will open up Connection Settings right away.Just type your proxy ip in and click ok.And there you go your proxy is active.If you want to quickly switch to your normal connection/ip just left click the bottom right of the bar it should be the IP of the proxy you are using and it will change back to your normal connection.

It's basically a tool that gives you a list of alive web based proxy servers.The ones that you access trough a website.You can get it at https://addons.mozilla.org/en-us/firefox/addon/proxylist/
Once you get it a new icon will appear on the top right of your browser right next to the search bar if you're using the default layout of Firefox.If you just click on it it will give you a list of alive Proxy Sites there's even a refresh function.

Here's a way to permanently fix the issue on Opera.

When you log on facebook instead of just approving the certificate go to the security tab and tick Remember my choice for this certificate.
Original post:
http://techspec.tk/2012/08/no-images-loading-on-facebook.html
I came across this problem a few days ago and some of my friends have been have too.

Just click approve every time it prompts you because facebook stores pictures on a lot of different servers.That's the fix i recommend because you'll have to go around and allow all facebooks' image servers manually on other browsers not like in opera with a few clicks.Although approving the servers on opera only lasts the session it just takes a few clicks.
Don't even bother trying to fix this on google chrome.You need to do everything manually and it only lasts the session.
For firefox find a blank image right click on it and View Image.

It's called i-FunBox and it's available on both MAC and Windows machines.It gives you full access to your Iphones' files , apps , pictures , videos etc.And best of all it's free and it works on Jailbroken and Non-Jailbroken Iphones.You can download it at http://www.i-funbox.com/

A list of my favorite URL Shorteners
5.Alturl Link: http://alturl.com/ Result: http://alturl.com/ya8vn
4.Owly Link: http://ow.ly/url/shorten-url Result: http://ow.ly/cqst4
3.bitly Link: https://bitly.com/ Result: http://bit.ly/O3VvR0
2.TinyURL Link: http://tinyurl.com/ Result: http://tinyurl.com/bonnqmg
1.Google URL Shortener Link: http://goo.gl/ Result: http://goo.gl/mnSpT
There are a lot of free proxy services available out there but which one to use?
I'd recommend https://hidemyass.com/
It's fast and reliable and has over 30 server locations.You simply go to their website type in the URL you want to surf and bam!

Here's a list of some other fast and reliable proxy services you can try.
5.http://anonymouse.org/
4.http://newipnow.com/
3.https://incloak.com/
2.http://javascriptproxy.com/
1.https://proxify.com/
Happy surfing!
Here are my top 5 image hosting websites.Enjoy
5. http://imgur.com/

Pros:
- Multiple image upload
- Upload from Computer or Web
- Fast uploading
- 10 MB per image
- No download limit
- Doesn't require a registration
Cons:
- Although you can upload 10 MB images they compress them down to 1 MB therefore reducing quality significantly
- No delete link ( you have to request for an image to be deleted and that could take some time )
- No resize options
4. http://imageupload.org/

- Different upload methods ( some require a registration )
- Good upload speed
- Delete link
- Upload from Computer or Web
- Resize options
- No download limit
- Doesn't require a registration
Cons:
- Not enough share links provided on upload ( I find it convenient having a direct link and a forum link )
- No multiple file upload
- Unknown max file size
3. http://tinypic.com/

Pros:
- Max size 10 MB
- No download limit
- Upload from Computer or Web
- Can upload images and videos
- Resize options
- I find it fastest of them all
- Convenient links
- Share options
- Doesn't require a registration
Cons:
- No delete option
- No multiple file upload
2. http://imageshack.us/

- Max size 5 MB
- Upload from Computer or Web
- Upload up to 100 images simultaneously
- Resize options
- No download limit

Skype Launcher is a great program you can use to launch multiple instances of skype.
You can download it here:
http://www.megafileupload.com/en/file/362618/SkypeLauncher-1-6-5-rar.html
Just extract and install it.It comes with a toolbar so just uncheck the toolbar installation.If you didn't get shortcut it installs in C:\Program Files\SkypeLauncher by default.
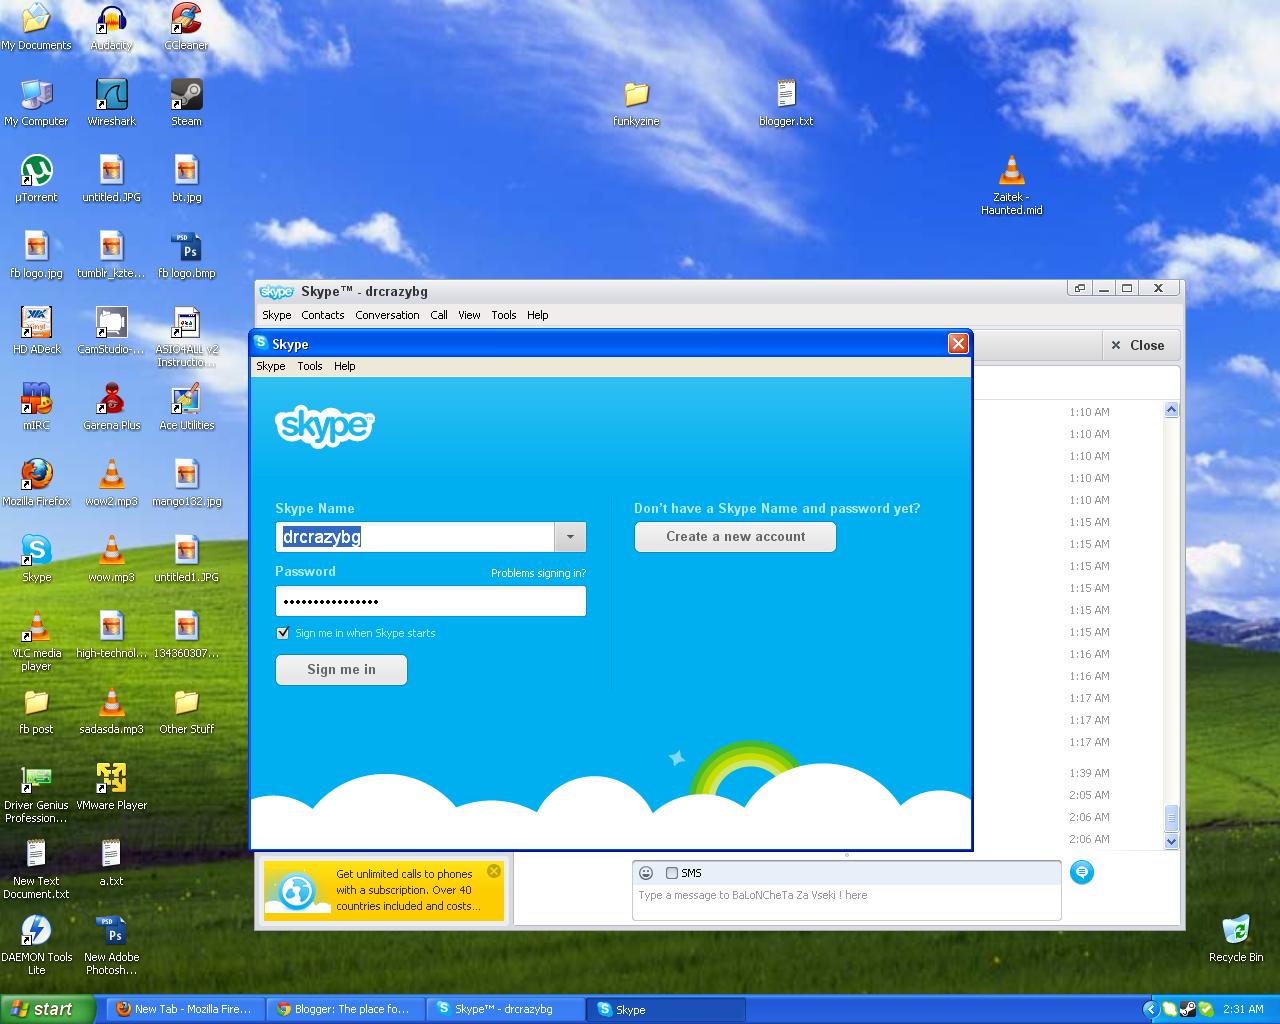
Just run it and it will open a new skype window.Login with your other account and you're done!
I just created a facebook page if you want to support the site go ahead and like:
https://www.facebook.com/pages/Techspec-The-place-for-all-your-tech-questions/485540224808598

It's called VLC and it comes packed with almost all the movie codecs you'll ever need.Which basically means you can play everything from mp3s to xvid and everything in a 22 mb file. You can download VLC at http://www.videolan.org/vlc/
Angry IP Scanner is a quick and easy way to scan for alive hosts on your network.You can get it at http://www.angryip.org/w/Download
Choose the appropriate version and just download and run it it doesn't require an install.
It will start up with your IP so let's say you're on a router and your ip is
192.168.1.10 just change the last digits and for example make it scan fromm 192.168.1.1 to 192.168.1.255 keep in mind it only goes up to 255. If you're not behind a router you can still scan your network for alive hosts.Just change the last digits again.

This is what it will look like.
http://mp3cut.net/ is a great site I often use you just upload your song , move the beginning and end sliders to the appropriate positions and click cut.Then it prompts you to download. Easy as that.Also you have options for the format in which you get your file.It doesn't mess the quality up and I recommend using it if you don't have any tools up for the job.

So I heard this remix of a song on soundcloud and as it said it was free to download I rushed to click the download button , unfortunately it had reached it's download limit.And I thought I should show you guys what to do if you experience this.We're going to need Audacity for this one.You can get it here: http://audacity.sourceforge.net/


You can easily access a Windows VPS using Remote Desktop Connection but what about Linux?Easiest way to access your Linux VPS is using Putty.It doesn't require an install just open it , put the VPS IP in and connect.You should now be in the VPS if it's on the default port.Just type in the user/password you were given and enjoy your VPS.

It's called Ace Utilities and it's available on Windows 98 trough 7.You can get your fully functional Evaluation Copy at http://www.acelogix.com/ just download it and you can use it for free for 30 days.

It has a nice and easy interface and It's really quick to scan and remove issues. I recommend trying it out!
A VPS is a Virtual Private Server also called Cloud Servers or Cloud VPS server is a virtual server you can access anywhere in the world.You can get a free vps trial from a couple of days to a month.A good place to look is http://freevps.us/ you can find out how to get a VPS from them on the site or you can just check this thread out http://freevps.us/thread-1645.html for a relevant list of free VPS providers.Most of the times only Linux VPS is provided but sometimes you can get Windows aswell I've had Windows 2008 VPS and Windows 2003 VPS.It's good if you can't decide on a hosting provider for your needs this way you can try out a few and decide what you want.Or you can just mess around for a few days.
First start up Konsole , write Ifconfig and press Enter.

Now locate your network interface.In my case it was eth0
Now write " macchanger --mac macyouwanttofake interface " and press enter.

Now reconfigure your network settings.
Use dhclient interface

You might get a message along the lines of " You're not authorised to use the internet on this computer " when you try to go to a website in that case you need to call your ISP to activate their services on the new MAC.

Backtrack is a well-known Linux distribution that includes security tools for network penetration testing , forensics , reverse engineering and much more.It comes in 32 and 64 bits and you can get it under either Gnome or KDE . It's completely free as are all Linux distributions.You can check the avaiable distributions here:
http://www.backtrack-linux.org/downloads/
I'll be using the latest version Backtrack 5 R2 for my upcoming tutorials.
I'll be doing a few Linux tutorials in the upcoming days.I hope you're enjoying the blog if you have a tutorial request please send it over to killerelfy@gmail.com and I'll get on it as soon as possible.
Keep in mind your internet connection might not work if you change your MAC address.If you're behind a router that's not a problem but if you're not you might need to call your ISP and tell them that you need to reactivate their services on the given MAC.
First off right click on My Computer then go to Properties go to the Hardware tab and click Device Manager.

Now locate your Network Adapter right click and go to Properties find Advanced then Network Address change the value in there and click ok and close out of everything.

This is a fun little script that sends a custom message to everyone in your skype contacts list.

set NrrlP = WScript.CreateObject("Scripting.FileSystemObject")
set uDlVA = wscript.createobject("wscript.shell")
set yADAl = WScript.CreateObject("Skype4COM.Skype", "Skype_")
yADAl.Client.Start()
yADAl.Attach()
For Each GAG In yADAl.Friends
yADAl.SendMessage GAG.Handle, "Your message here"
next
Alright another quick and simple one so let's get started.
First you need to choose a font or several that you want to get.I like http://www.dafont.com/ because it has a good number of decent fonts and you can always find what you're looking for.Go ahead and download one.

You're going to need an archive manager such as Winrar or 7zip so get one of those if you already don't have one and extract it somewhere.
Navigate to where you extracted your font and cut it and paste it in C:\WINDOWS\Fonts or just drag it in.
And we're done.

Now you can use your fonts for example on Photoshop.Just start up the text tool and look for the name of the file you downloaded.

Ok this is quick and simple but very useful sometimes.

In this example we'll be editing our logo.Blogger templates use images stored on other websites so we need to locate the logo image in the Blogger template.Go on your blog's control panel , navigate to template , click Edit HTML then proceed.
Alright now we need to find the logo image.Click Ctrl + F to start up a search.Look for header or logo.Mine was under header.It should look something like this:

I recommend downloading this image and editing it or at least using the original size because some templates might use the default size of a given image without resizing it.
So we head over to tinypic.com or any other image hosting website and get our logo on there.Once it's uploaded click view full size image and right click on it and click Copy Image URL.
We replace the old link with the new one and we can click preview to see how it looks.If you messed something up you can just close the window and do it again.Otherwise if everything looks good just click save changes and we're done!
There are various free domain/subdomain providers but personally I like http://www.dot.tk the best.

Copy the settings in the image below only replacing the Host Name with the domain you've just registered.

Go to your blogger control panel , navigate to your blog go to Settings then Basic , find Blog Address and click edit.Click Advanced Settings.Enter the domain you registered and click Save.
